Raspberry Pi Security Cam From Scratch: Setting Up Hardware and Software [Part 2]
Setting up Pi
There are already many guide for this. I will briefly introduce the procedure here. Please look for other guide for troubleshooting.
Go to the official website to download the Raspbian OS. You will download an imager burner. Connect your Pi to your PC via usb. Flash the image to your Pi. If you are doing headless setup. You will need to enable SSH in a config file. Please refer to other guide.
Connecting Pi Camera Module
You need to carefully pull out the black bar at the connector so the ribbon can be inserted.
Connect the Pi camera module as the following orientation:
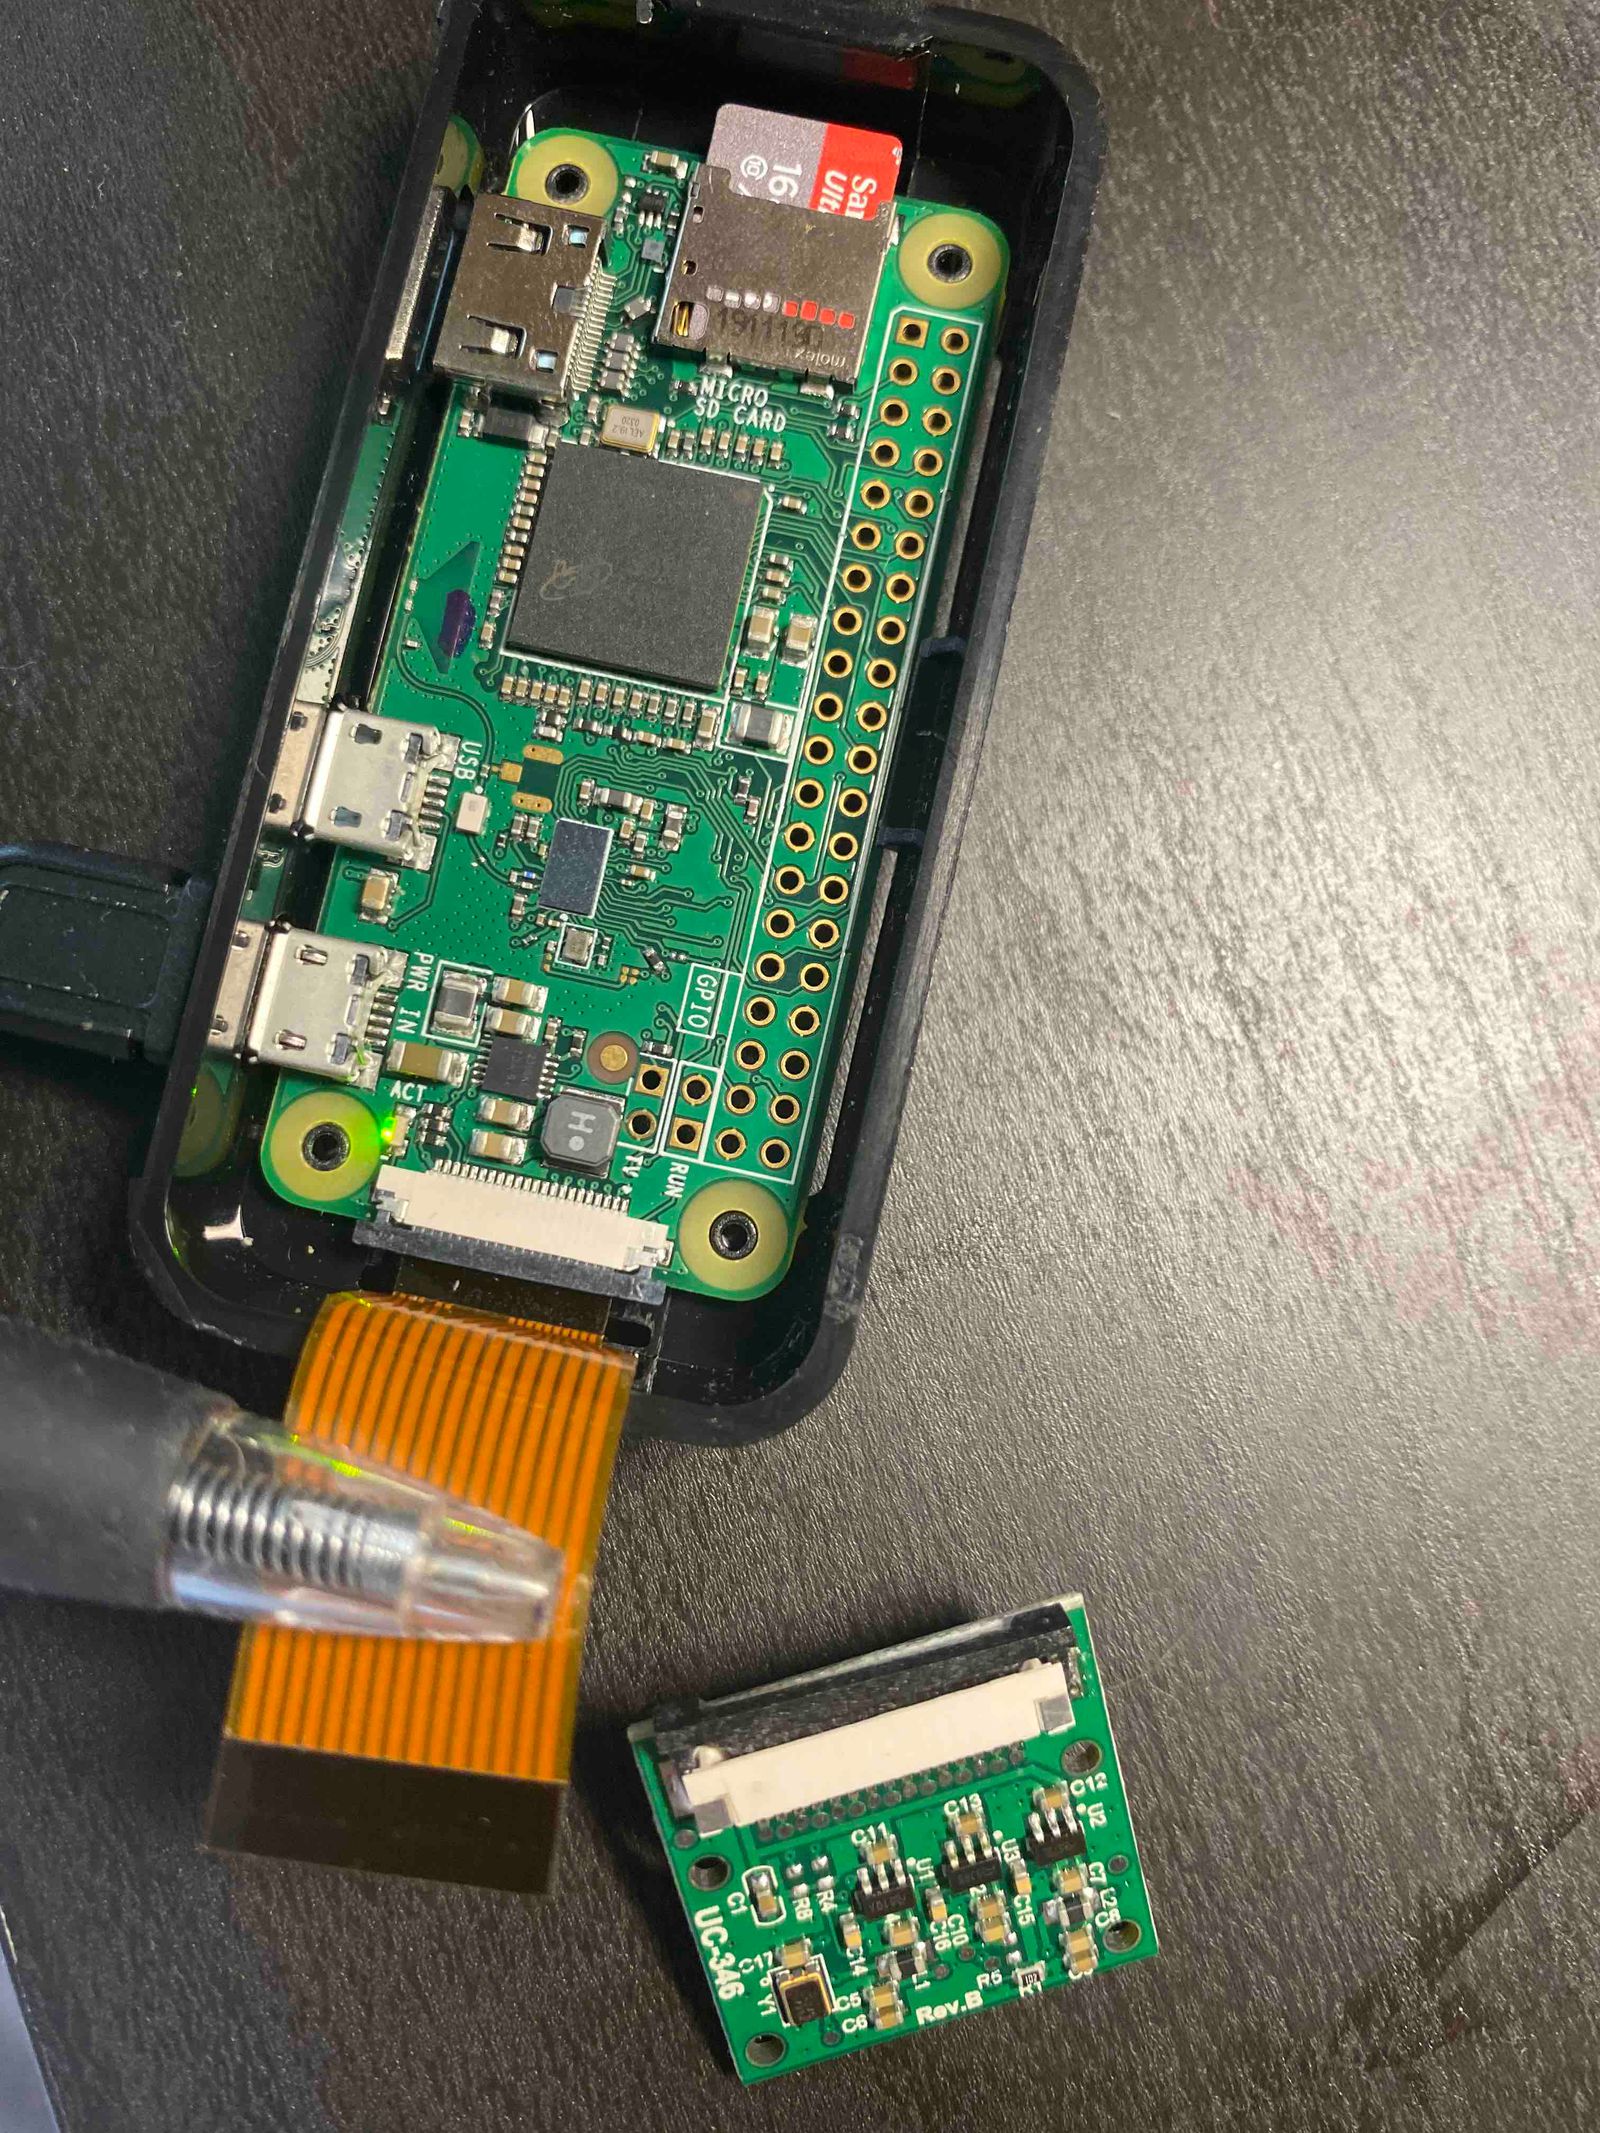
The ribbon is straight across the two connector. The black side of the ribbon will face the same side of the back of camera.
Enable Camera Module in Pi
Run sudo raspi-config in the Terminal.
Use arrow key to navigate, and enter to confirm.
Select Interfacing Options
Select Camera
Choose Ok
Then you will prompt to reboot.
If you do this procedure before connecting the camera. You will need to reboot after connecting the camera.
Run sudo reboot if you are unfamiliar with the terminal.
Test Camera
Run raspistill -v -o out.jpg in the Terminal.
Inspect if there is any error in the output.
You can check by running ls to see if there is a out.jpg file.